Area of Law Codes
Area of Law (AoL) codes have three hierarchical levels. This provides users with more descriptive and granular AoL assignments for a matter. For example, you could assign a matter with a Criminal Area of Law. But, then you could further categorize the Criminal Areal of Law as Battery. And, then further categorize the Battery Area of Law as Assault. All level assignments are optional, but can be available for areas of law that need more granularity.
Defining Area of Law Codes
-
Select File > Setup > Codes.
-
The Code Types window opens. Highlight the AOL row and select Edit codes.
-
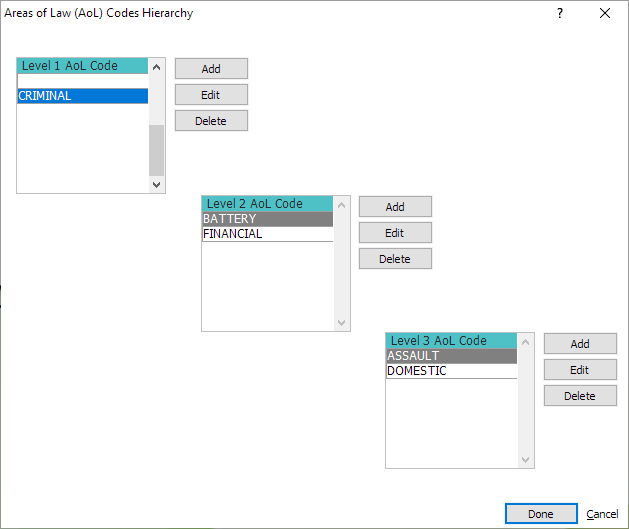
The Areas of Law (AoL) Codes Hierarchy window opens. You need to enter one blank Level 1 AoL code. This can be used later to remove AoL code assignments for a matter. Do the following to enter a blank code:
-
Click Add for Level 1 AoL Code.
-
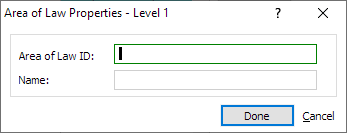
The Area of Law Properties window appears. Don't enter anything in the fields.
-
Click Done to save the blank code.
-
-
Add, edit, or delete AoL codes for the different levels as desired. Note that the codes that appear in the Level 2 box are child codes of the highlighted code in the Level 1 box. The codes that appear in the Level 3 box are child codes of the highlighted code in the Level 2 box. This means that the parent Level 1 code must be highlighted to see its child Level 2 codes and the parent Level 2 code must be highlighted to see its child Level 3 codes.
-
To add an AoL code to a level, select Add for the level box. The Area of Law Properties window opens. Enter the ID and name and click Done to save. Remember that when you add a Level 2 code, the parent Level 1 code must be highlighted. When you add a Level 3 code, the parent Level 2 code must be highlighted.
-
To edit an AoL code, highlight it and select Edit. The Area of Law Properties window opens. Edit the ID and name and click Done to save.
-
To delete an AoL code, highlight it and select Delete. NOTE: When deleting AoL codes, all child level codes must be deleted before a parent code can be deleted.
-
-
Click Done to save your changes.
Creating an Area of Law Section on the Matter Screen (One-time Preparation)
To be able to assign the different levels of AoL codes to a matter, you need to create an Area of Law section on your Matter screen. This only needs to be done one time.
In this procedure, you will be creating the following components of the Area of Law section:
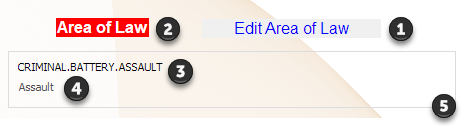
1) Edit Area of Law button: Opens a window that lets you assign AoL codes to the matter.
2) Area of Law banner: Label for the section.
3) Selected Area of Law code display: Lists the IDs of the AoL code levels selected for the matter.
4) Selected Area of Law code name: List the name of the AoL code selected for the matter.
5) Boundary box: Boundary line for the section.
Follow these steps to create the Area of Law section on a Matter screen. Note that this is just a suggested formatting for the section. You may choose different styles and colors based on your own preferences.
-
Select File > Setup > User-defined Screens > Matter.
-
The Screens window opens. Clone a matter screen and edit the cloned screen.
-
Add the Edit Area of Law button.
-
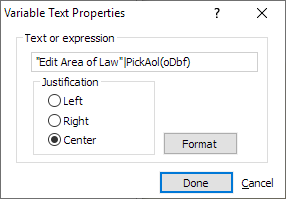
Right-click the screen and select Add Variable Text.
-
Enter "Edit Area of Law"|PickAol(oDbf) in the Text or expression field.
-
Change justification and formatting as desired. We suggest changing the color of the text to royal blue or some color that indicates that it is a hyperlink.
-
Click Done to save the changes.
-
Position the button on the screen.
-
-
Add the Area of Law banner.
-
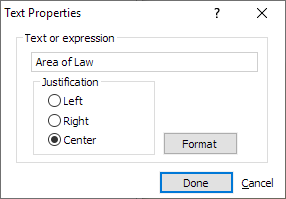
Right-click the screen and select Add Text.
-
Enter Area of Law in the Text or expression field.
-
Change justification and formatting as desired. In the example, we changed the text foreground color to white and the text background color to red.
-
Click Done to save the changes.
-
Position the banner on the screen.
-
-
Add the selected Area of Law code display.
-
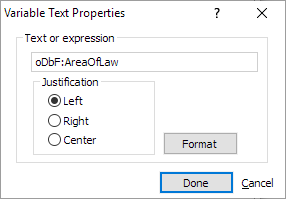
Right-click the screen and click Add Variable Text.
-
Enter oDbF:AreaOfLaw in the Text or expression field.
-
Change justification and formatting as desired.
-
Click Done to save the changes. Note that if the selected matter has not been assigned an AoL code, the field will be blank.
-
Position the item on the screen.
-
-
Add the selected Area of Law code name.
-
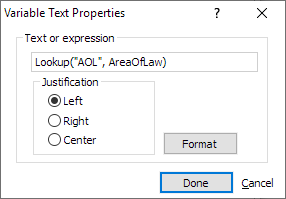
Right-click the screen and click Add Variable Text.
-
Enter Lookup("AOL", AreaOfLaw) in the Text or expression field.
-
Change justification and formatting as desired.
-
Click Done to save the changes. Note that if the selected matter has not been assigned an AoL code, the field will be blank.
-
Position the item on the screen.
-
-
Add the boundary box for the section.
-
Right-click the screen and click Add Box.
-
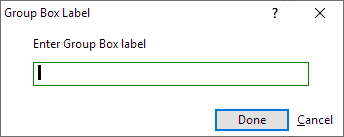
Don't enter anything in the Enter Group Box label field.
-
Click Done to save.
-
Position the box around the other items in the section.
-
-
Click Done to save the changes to the screen.
Assigning an Area of Law Code to a Matter
-
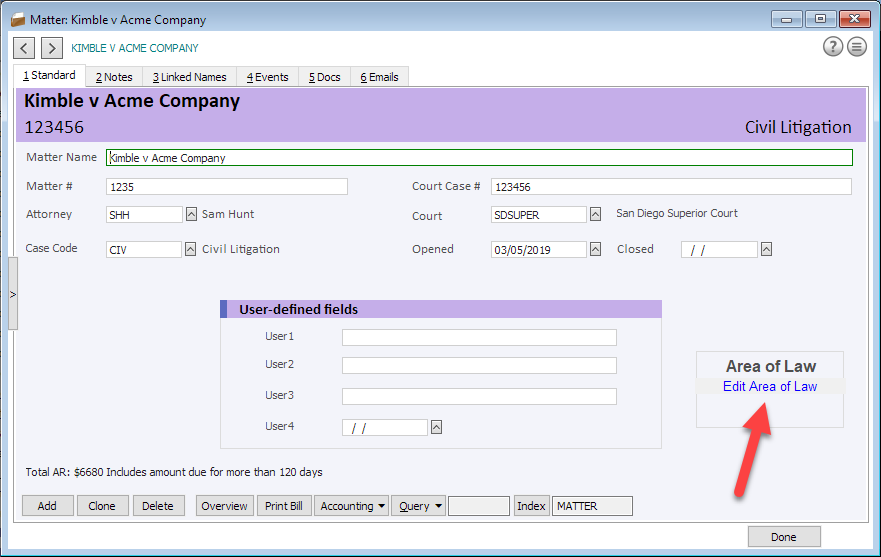
Open the matter in the Matter window using the Matter screen to which you added the Area of Law section.
-
Click the Edit Area of Law button.
-
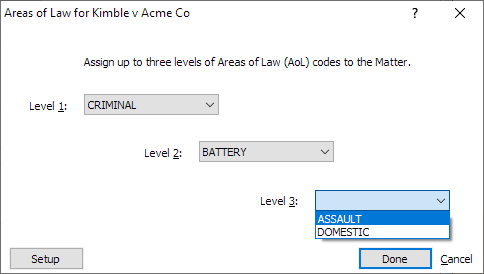
The Areas of Law window opens. Select different levels of an area of law. Note that you have to select a Level 1 AoL code to see the Level 2 AoL codes associated with the Level 1 AoL code. And, you have to select the Level 2 AoL code to see the Level 3 AoL codes associated with the Level 2 AoL code.
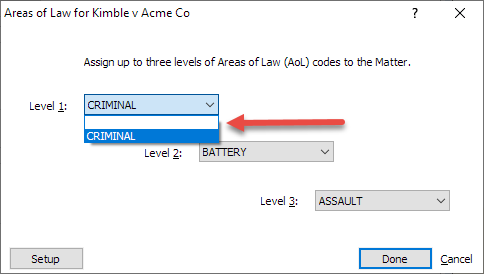
To clear the AoL code, select the blank row for Level 1.
-
Click Done to save the changes.
-
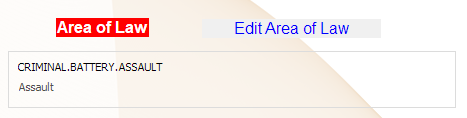
After the matter is saved, the selected AoL code levels are reflected in the section.