APX Onboarding
-
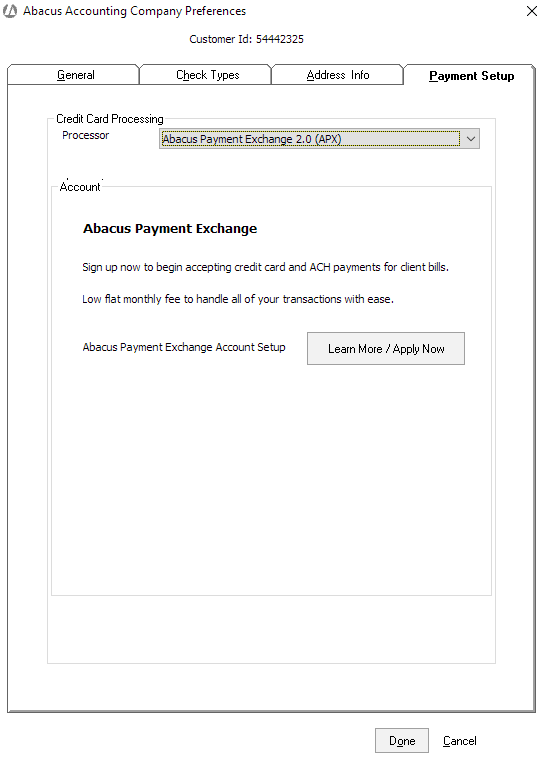
In Abacus Accounting, select File > Setup > Company Preferences to open the Company Preferences window. Then, select the Payment Setup tab.
-
Do one of the following:
-
If APX has never been registered, Set Processor to Abacus Payment Exchange 2.0 (APX). Then, click Learn More / Apply Now.
-
If APX was registered previously, click Migrate to APX 2.0.
-
-
The APX Get Started page appears. Click SIGN UP FOR FREE.

-
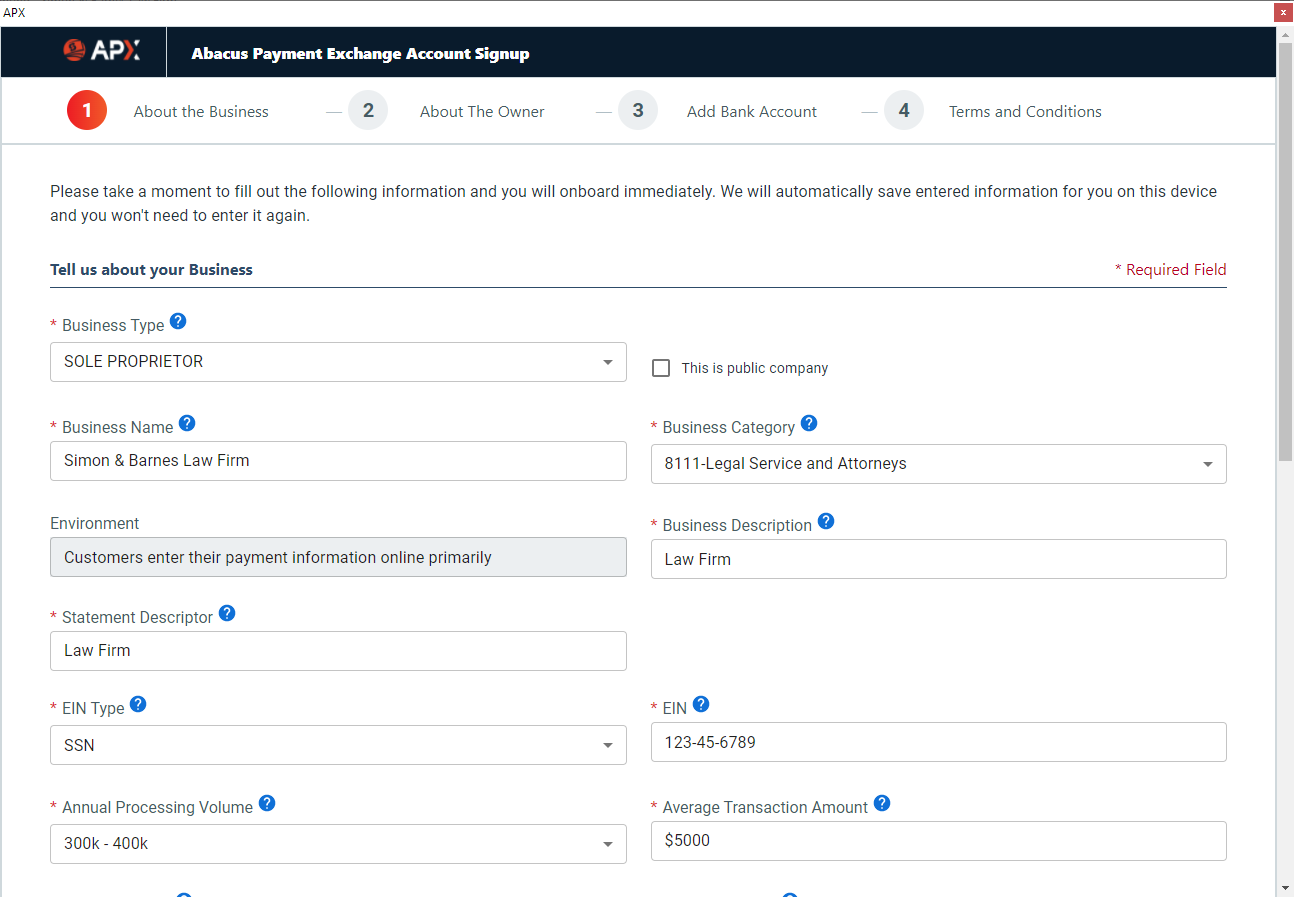
Enter information about your business and click Go To Step 2.
-
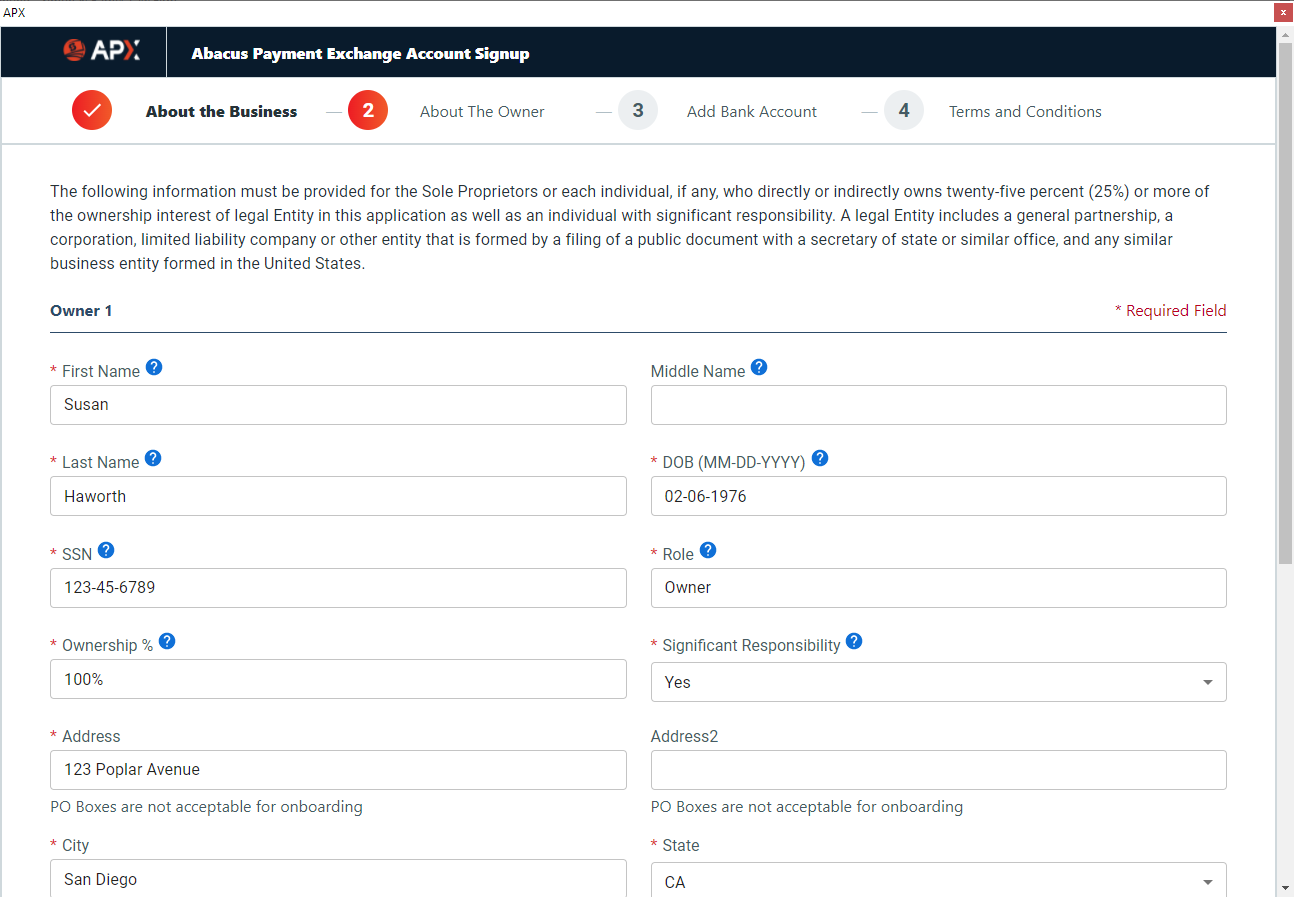
Enter information about the business owner and click Go To Step 3.
-
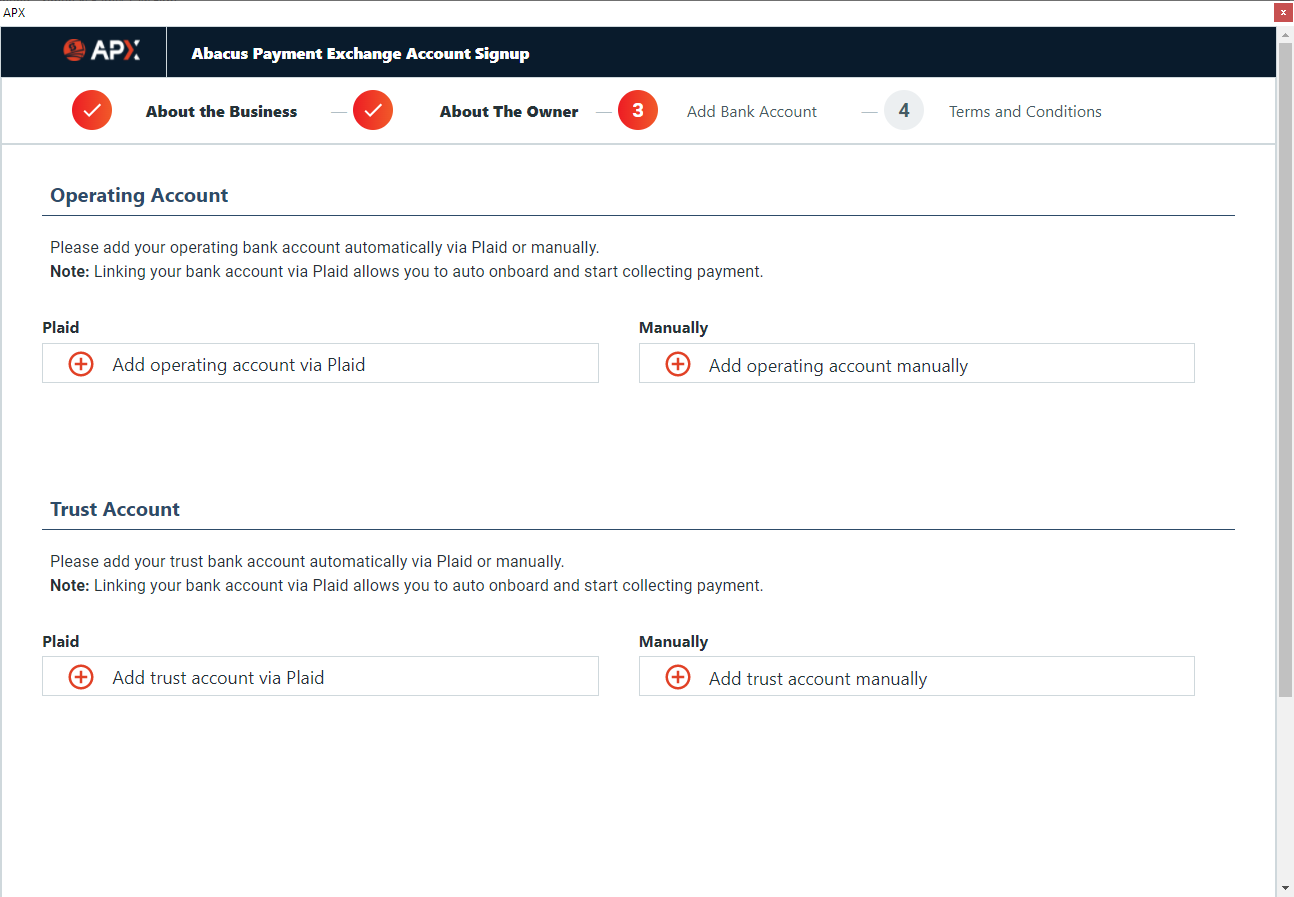
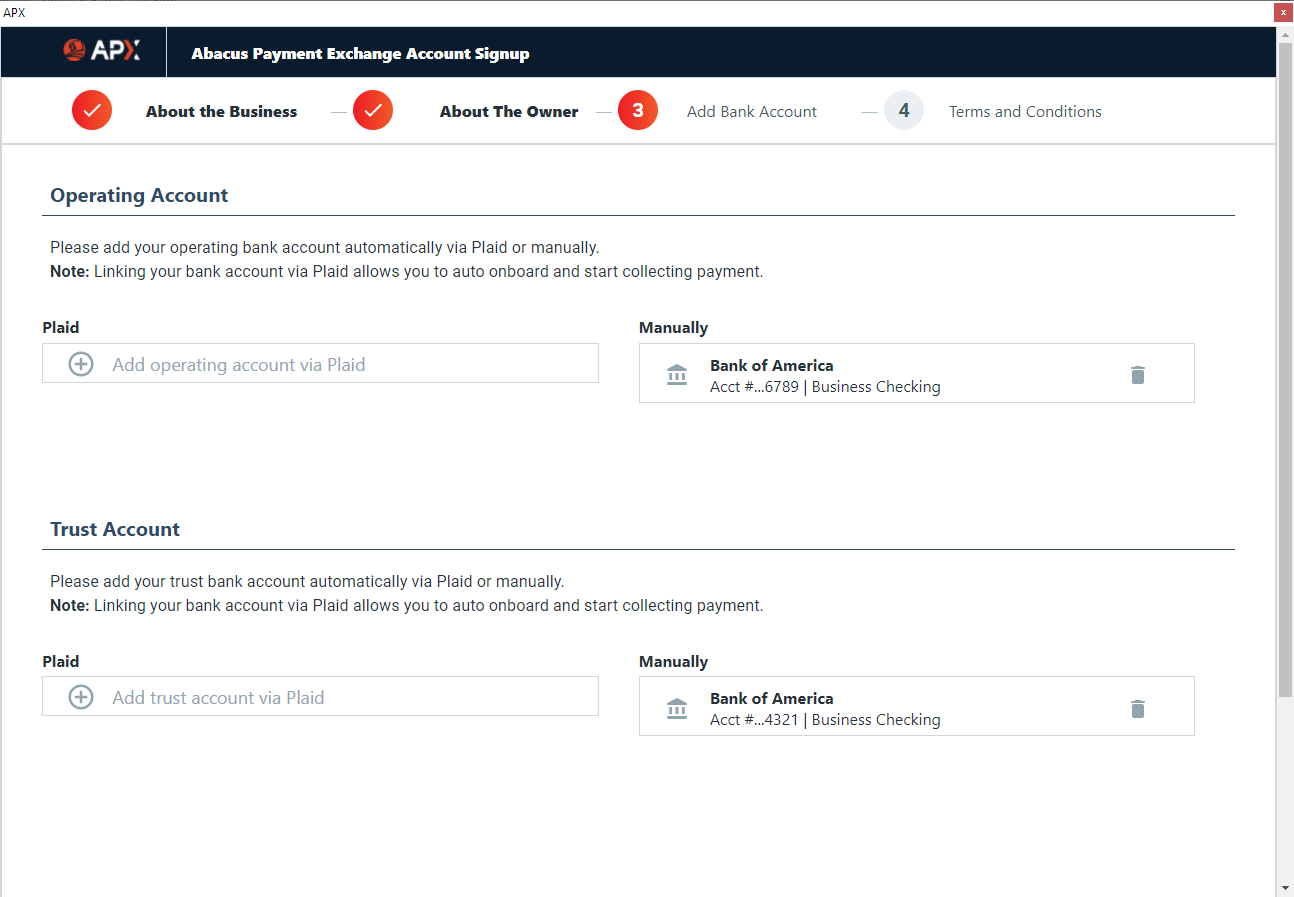
Add your operating and trust bank accounts.
-
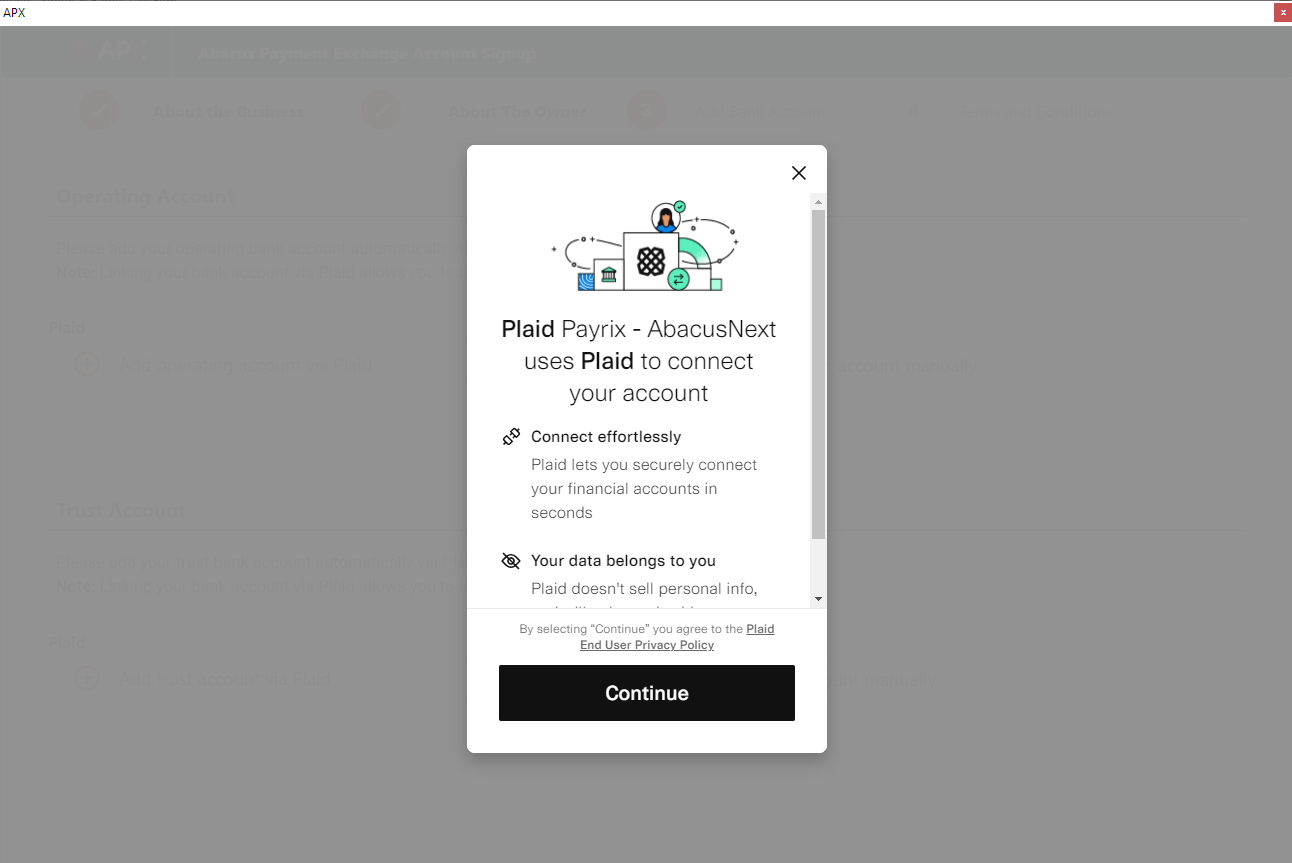
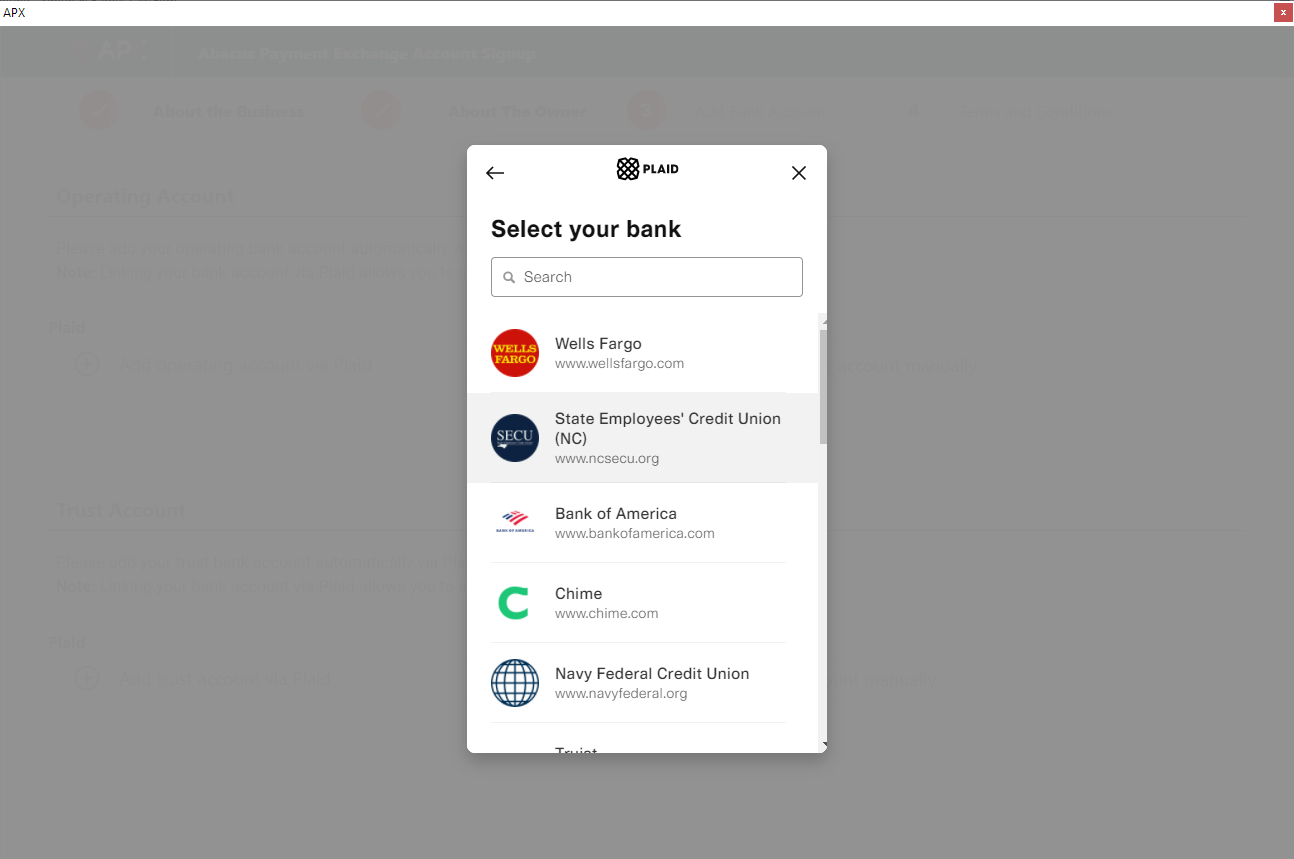
To add an operating or trust account using Plaid, click Add operating account via Plaid or Add trust account via Plaid. Follow the on-screen prompts to add the account.
-
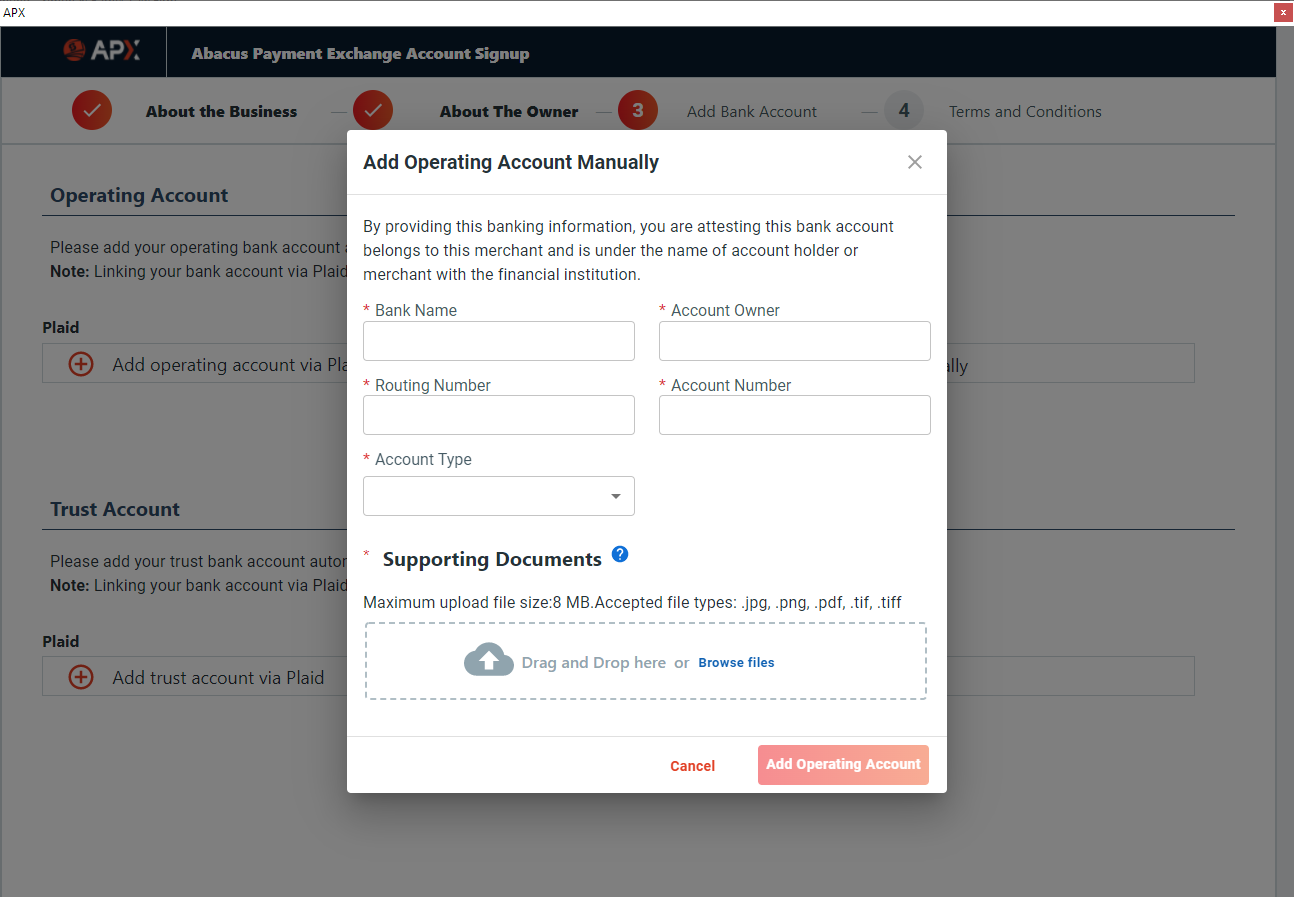
To add an operating or trust account manually, click Add operating account manually or Add trust account manually. Enter the account information as prompted and click Add Operating/Trust Account.
-
Once the accounts are added, click Go To Step 4.
-
-
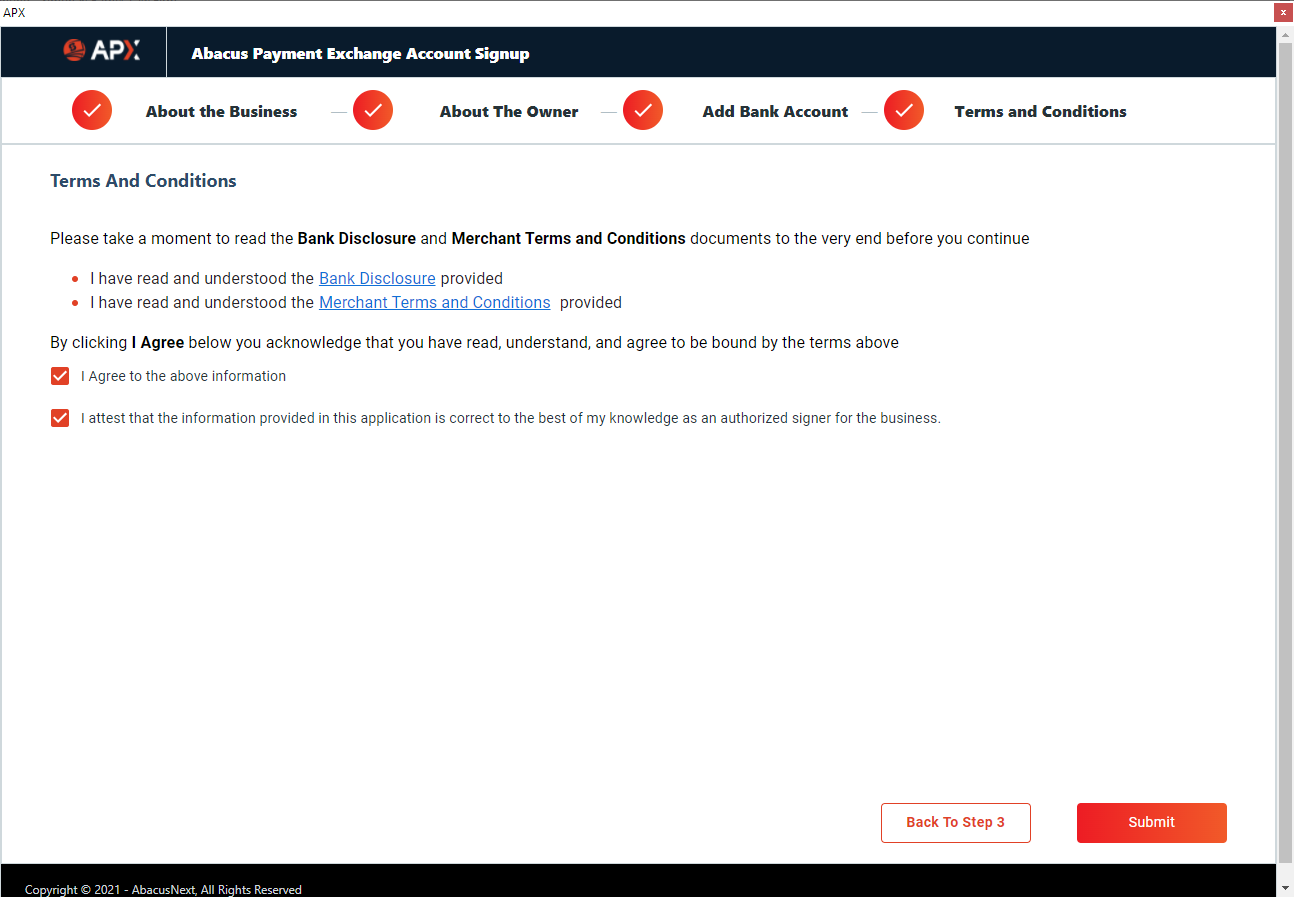
Click the links to open and read the Bank Disclosure and the Merchant Terms and Conditions. Then, check to agree to the terms. Click Submit.
-
A notification that your APX application has been submitted appears. Close this window.
-
Check your email. You should have an email that verifies that your application was received.
-
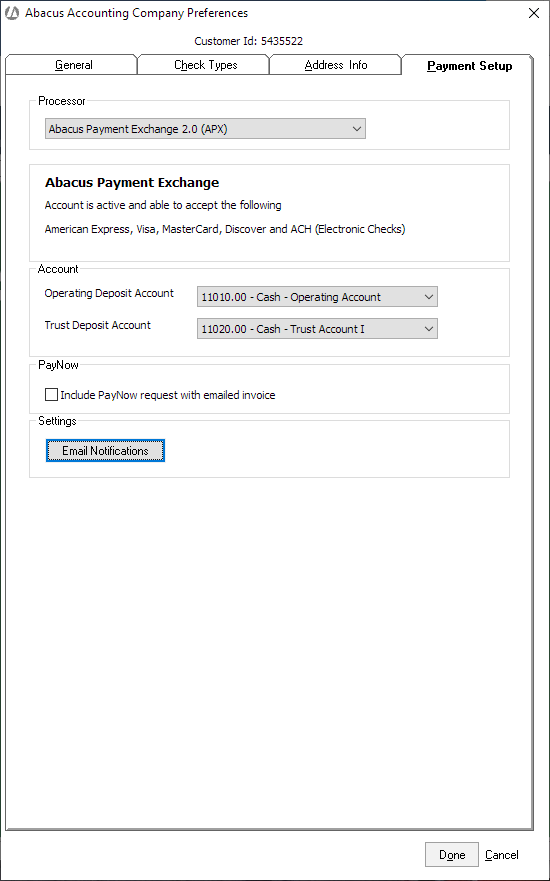
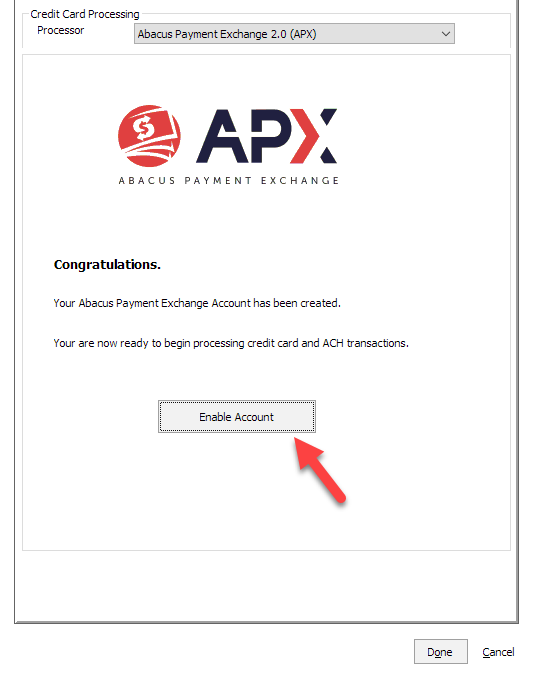
Application approval can take up to 2 business days. To check the status of your application, select File > Setup > Company Preferences and select the Payment Setup tab. When your application is approved, click Enable Account.
-
The Payment Setup tab looks like this when APX is fully registered and ready for use.
