Step 2: Writing Checks against Payables
In step 1 of the 2-Step Method for Payables you created a list of payables that need to be handled. In step 2, you write checks for those payables through the Print AP Checks window. To open the window, select A/P > Print A/P Checks.
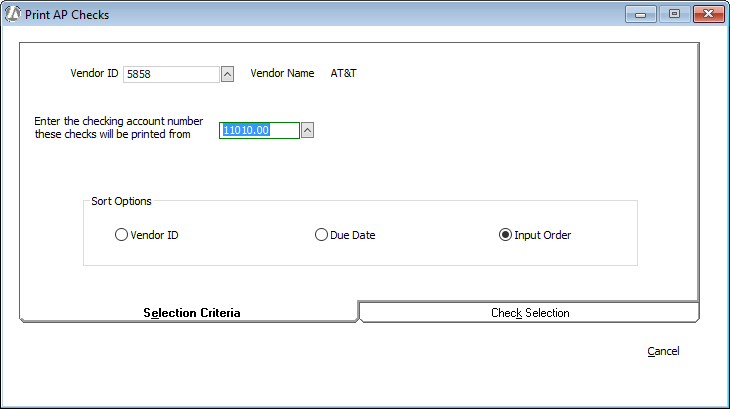
The Print AP Checks window appears with the Selection Criteria tab selected. If you are not looking for a specific check to print and don’t care what order in which the checks print, skip to the next step.
If you are looking for a specific check to print and/or want the checks to print in a specific order, you can complete the fields on the Selection Criteria tab to specify the vendors for whom you want to print checks, the number of the account from which the money will be taken to cover the checks, and the checks that will appear on the Check Selection tab.

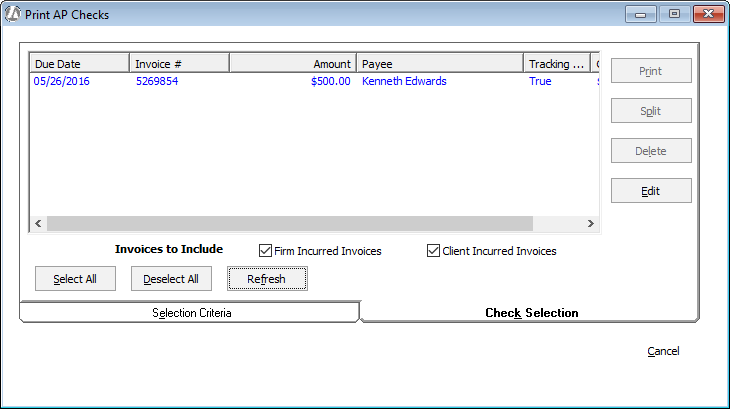
Select the Check Selection tab, which displays a complete list of payables. (Unless you entered criteria on the Selection Criteria tab, in which case the resulting payables are listed in the order you specified.)
NOTE: The Tracking Client Payments field indicates if Track Client payments was checked when adding the payable. The Client Payments field lists the amount the client paid against the payable.

From this tab, you can:
-
Edit AP checks by highlighting the check and clicking Edit.
-
Delete posted payables listed by highlighting the payable and clicking Delete.