Sending PayNow Requests
Click here for more information about PayNow.
Follow these steps to send the client an email with PayNow links to be used to pay an invoice.
NOTE: Ensure that you have performed all PayNow setup before starting this procedure.
-
Generate the bill as usual.
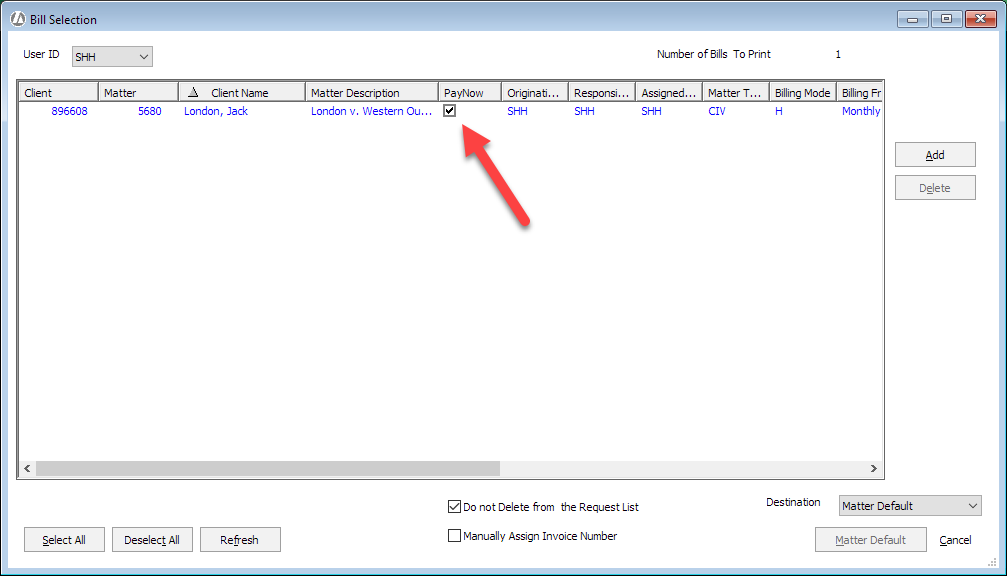
When billing for a matter with PayNow activated, the PayNow box is automatically checked in the billing windows. If you decide not to use PayNow for a bill, remove the check mark. If unchecked, the PayNow link and text is excluded from the sent email, even if the matter is using a PayNow billing email template.
-
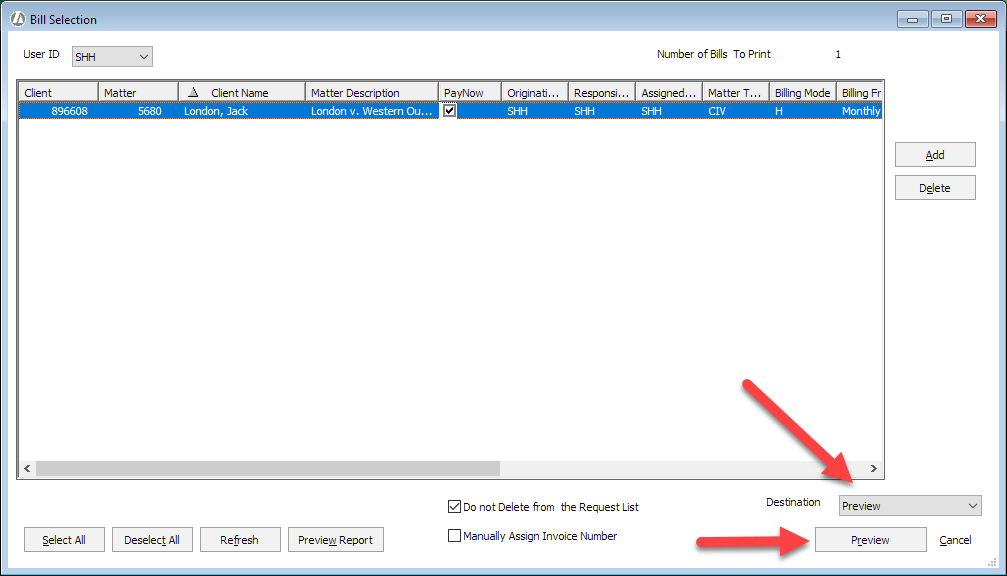
Highlight the bill. For Destination, select Preview and click Preview and ensure that the bill is correct.
-
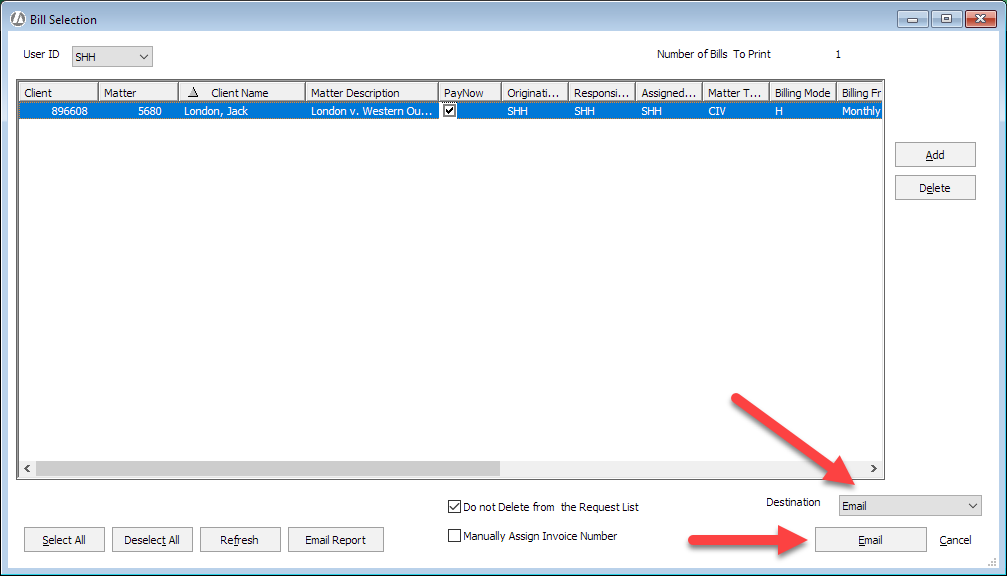
Highlight the bill again. For Destination, select Email and click Email.
-
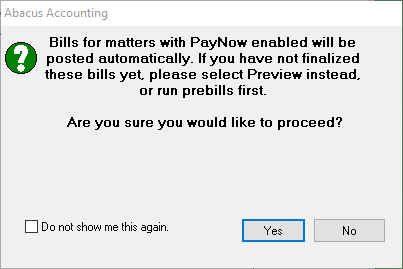
If you see the following message, click Yes (since you have already previewed and approved this bill).
-
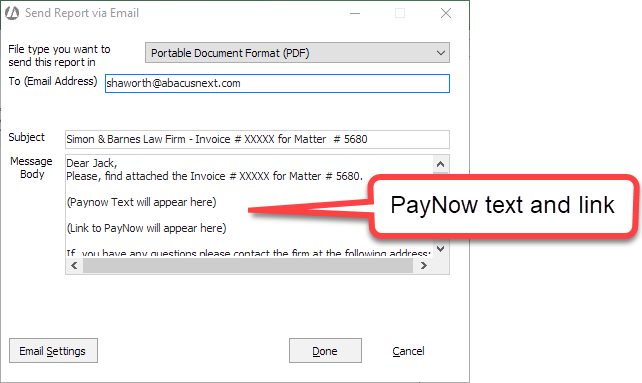
The Send window appears with a preview of the email. Notice the placeholders for the PayNow text and link. Click Done to send the email.
-
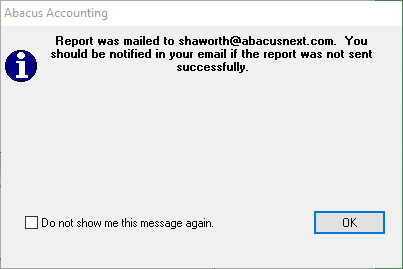
Notification that the email was sent appears. Click OK.
-
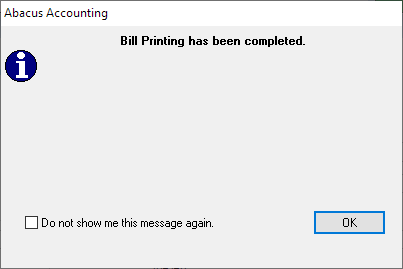
Notification that the bill is posted appears. Click OK to close the window.
-
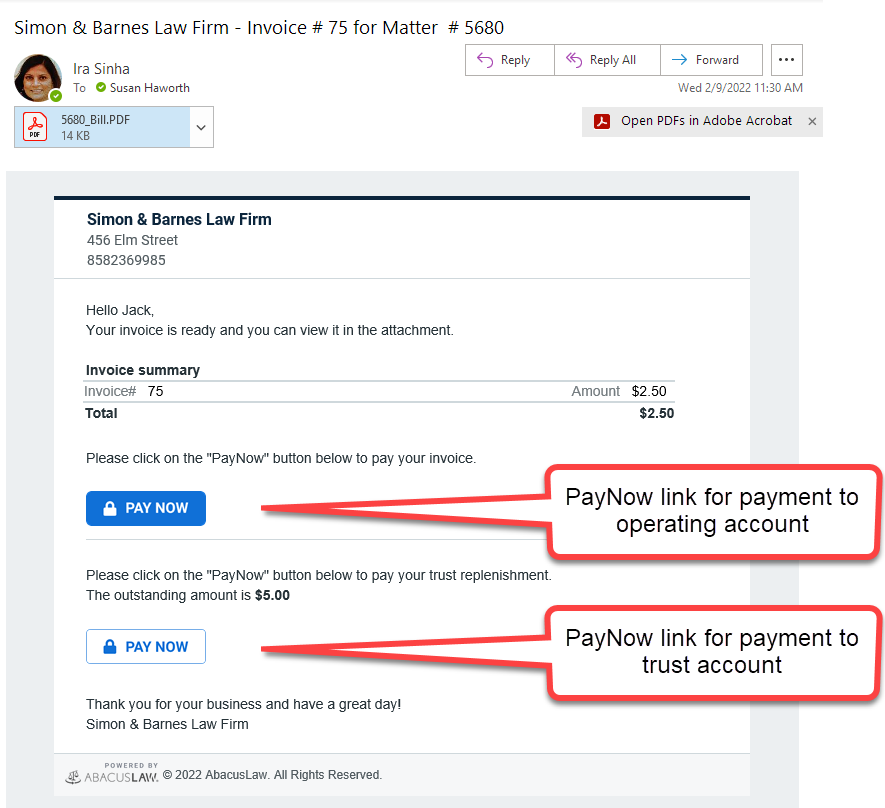
The client receives the email. The client clicks the PayNow links for on-screen instructions for making payments.
-
If no payments need to be made to trust, then only one PayNow link for payment to the operating account is listed.
-
If the matter has a minimum trust retainer and the invoice amount is less than the minimum trust retainer, then only one PayNow link for payment to replenish the trust account is listed.
-
If the matter has a minimum trust retainer and the invoice amount is greater than the minimum trust retainer, then two PayNow links are listed: one for a payment to the operating account and one for a payment to replenish the trust account.
-
If there are no new charges on a matter (i.e., a statement of account was generated), or the amount due on the bill is $0 or a credit balance, no PayNow link will be included in the email.
-