Get a statement for the account you want to reconcile (paper or online).
Print out the previous month's account reconciliation report (Reports > View Saved Reports).
Do one of the following:
To reconcile trust accounts, select Trust > Reconcile Trust Bank Accounts.
To reconcile non-trust accounts, select A/P > Reconcile Operating Bank Accounts or select G/L > Reconcile Bank Accounts.
The Bank Reconciliation window appears. Select the Account Information tab and do the following:
Select the Account Number to Balance.
Using your bank statement information, complete (or confirm since the beginning balance is taken from the ending balance last period) the Statement Ending Date, Beginning Statement Balance, and Ending Statement Balance fields. Make sure last month’s ending balance on the reconciliation report is the beginning balance for this month on the checkbook register.
For the field, enter any miscellaneous transactions that affect the adjusted bank balance. For example, assume the Statement Ending Date is 9/30/2019. A check paid at the bank for $159.32 but the cash disbursement check was generated in the amount of $156.32. An adjustment voucher for $3.00 is pending from the bank. The $3.00 would be entered into the Other Outstanding Transactions field since the check was generated for the correct amount of $156.32 and the bank will credit the cash account on 10/01/2019.

Select the Account
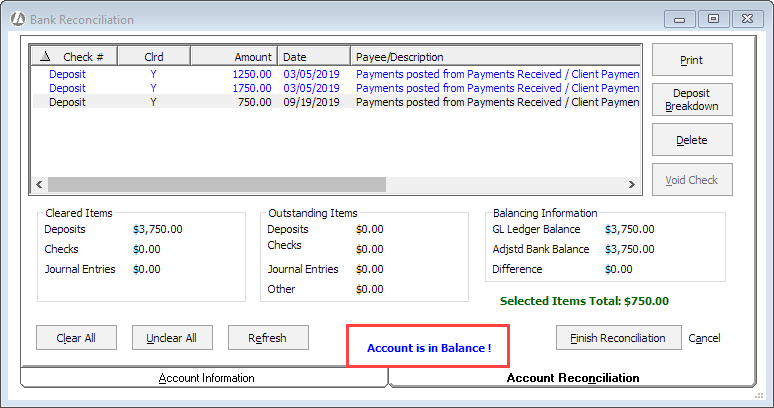
Reconciliation tab. This tab displays journal entries for the
selected time period. The difference amount in blue type is the net
change, which is the difference between the Beginning Balance and
the Ending Balance.

Compare the transactions listed on the window to
the bank statement. Review the bank deposits first, then review the
bank withdrawals. Click each entry listed in the window that appears
on the bank statement to mark it as cleared. (Each time you click
an entry it alternates between cleared and not cleared.) Notice that
a “Y” in the Clrd column indicates
a cleared entry. The objective is to have every entry on your bank
statement listed and to have every entry cleared.
Here are some tips to help you in this process:
If you want to see detailed deposit breakdown information for a transaction, highlight the transaction and click Deposit Breakdown.
Print out 3 general ledger reports (Reports > General Ledger) as resources:
The Daily Posted Cash Receipts report and General Ledger Cash Receipts Report will help you clear deposits.
The Cash Disbursement Details report lets you see what makes up a transaction.
For withdrawals, all transactions should have check numbers for comparisons.
Credit card payments that are not listed need to be entered as a journal entry. Clear these entries after creating them.
Any transactions over 120 days old should be investigated and possibly voided.
If you need to delete or void a transaction, highlight the transaction and click Delete or Void Check. This lets you clean up the account during the bank reconciliation without having to navigate to a different window.
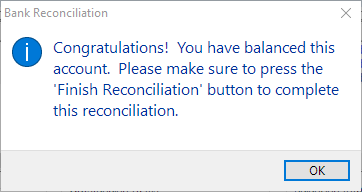
When the account is in balance, click Finish
Reconciliation and Abacus Accounting will remove all cleared
entries.


You will be prompted to print the Bank Reconciliation report. Print and file a copy of this report.
After the account is reconciled, print and store a copy of the checkbook register. If it is a trust account, print and keep a copy of the Trust Reports – Detail report as well.