Using the Forms Filler
The Forms Filler window appears when you are filling a PDF form.
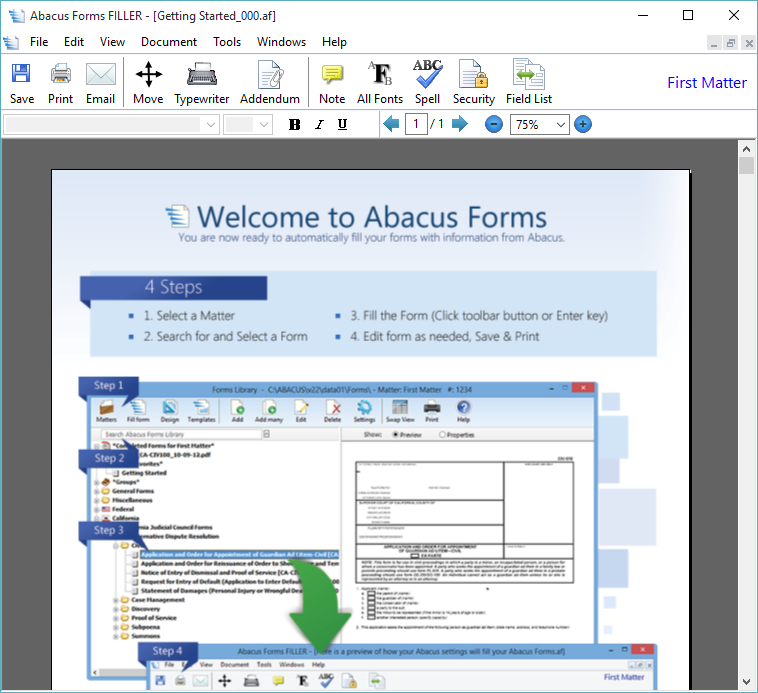
The Forms Filler, similar to Acrobat™ Reader, displays a fillable form and lets you add or edit text before you print or save it. The big difference is that it first fills the form automatically and as completely as possible from your selected client and matter!
From the Forms Filler, you can do any of the following.
To save the form
Click the Save button on the Forms Filler toolbar (or select File > Save from the Forms Filler menu bar). The Filler’s Save window appears. The file name is automatically initialized according to your setup, usually to a folder based on the case number. Edit it if necessary and click Save. The Document Details window appears. Make changes as necessary and click Done.
To save a read-only copy of the form, select File > Save as Final from the Forms Filler menu bar. This prevents any further changes to the database fields since editing is not allowed in the final version.
To print the form
Click the Print button on the Forms Filler toolbar (or select File > Print from the Forms Filler menu bar) and a Print window appears. Change the settings as necessary and click OK.
To email the form
Save the form and then click the Email button on the Forms Filler toolbar (or select File > Email on the Forms Filler menu bar). An email message window appears. The form is added to the email as an attachment. Enter the email address and send the email as usual.
To move fields on the form
Click the Move button on the Forms Filler toolbar (or select Tools > Move objects from the Forms Filler menu bar). Once move mode is activated, you can drag and drop the editable fields on the form to new locations.
Click the Move button again (or select Tools > Move objects again) to deactivate move mode.
To type on the form
Click the Typewriter button on the Forms Filler toolbar (or select Tools > Typewriter mode from the Forms Filler menu bar). Then, click and type anywhere on the form. Click in a blank area on the form when you are finished.
To remove a field added using the Typewriter button, right-click the field and select Delete Field.
To add addendum pages
Click the Addendum button on the Forms Filler toolbar (or select Document > Add Addendum from the Forms Filler menu bar). The Select Addendum File window appears. Select the addendum file and click Open.
To add, insert, and delete pages
From the Document menu, select any of the following menu options:
-
Add new page: Adds a new blank page to the end of the document.
-
Insert new page: Adds a new blank page before the current page.
-
Delete this page: Deletes the current page.
To maintain comments on the form
Comments are like electronic sticky notes that you place on the form. They do not print with the form. Rather, they are for internal or user purposes only.
To add a comment, click the Note button. Draw a box on the form where you want to put the note. Enter your comment in the note box.
To delete a comment, click the comment box to select it, and press the Delete key.
To change fonts on the form
To change fonts for all fields on the form, click the Font button on the Forms Filler toolbar (or right-click a blank area in the form and select Font – For all fields). The Font window appears. Select the font type, style, and size and click OK.
To change fonts for selected fields on the form, right-click the desired field and select Font. The Font window appears. Select the font type, style, and size and click OK.
To spell check the form
Select Tools > Spell Check > Current Document.
To add security to the form
The Security button on the Forms Filler toolbar gives you owner and user password protection to forms to allow or deny printing, modifying, and copying.
Click the Security button to open the Security window. Complete the window for security settings and click OK to save.
To view/edit field values for the form
The Field List button on the Forms Filler toolbar gives you a table view of all of the fields in the form where you can quickly edit all those values without paging through the form.
Click the Field List button. The Field List View window appears listing the available fields in the form. Click to select any cell in the Value column and enter or modify text as needed. Click OK to save your changes.
You can also use the Fill From button to assign values to the fields. Click the Fill From button and select any of the following options:
-
From Template: Lets you select a template that has predefined values.
-
Insert Abacus Data: Opens the Form Field Quick Filler that shows Abacus fields and values (ALF output) and lets you insert any field’s value into the selected cell in the Field List View.
-
Refill with Abacus data: Overwrites the value of any form field WITH A FORMULA with data from the corresponding field in Abacus. Fields without formulas will retain their current value.
To add fields to the form
-
Select Tools > Add Field from the Forms Filler menu bar. This activates add field mode.
-
Click and drag to draw a box on the form. Release the mouse button when you have correctly positioned and sized your new field.
-
Continue to add fields as necessary.
-
Double-click a blank area in the form to deactivate add field mode.
-
Enter text in the new fields.
To delete fields from the form
Click the field to select it, and press the Delete key OR right-click the field and select Delete Field.
To arrange items on the form
Press the CTRL key and select the fields you want to work with. Then, select Tools > Arrange items and select the menu option for the task you want to perform. You can align the selected fields, center them, or make their heights/widths equal.
To view the ruler for the form
Select View > Ruler from the Forms Filler menu bar.
To insert Abacus Data into the form
Right-click a field and select Insert Abacus Data. The Form Field Quick Filler window appears listing Abacus data fields. Highlight a data field and click Paste to use the data field to fill the selected form field.
NOTE: If you want the form field to be filled at the cursor position, check Insert at cursor position. If Insert at cursor position is not checked, the form field value will be completely replaced with the date field value, regardless of where the cursor was positioned.
To set up forms
-
Select File > Setup from the Forms Filler menu bar. The Setup window appears.
-
If you want to use a different font when filling forms, under My font override for all forms, click Select Font. Select the font style to use when filling the form and click OK.
-
Under At Startup, when fields have unresolved formulas, select whether you want to leave the fields blank or show the formula.
-
Check Save final forms in PDF/A file format if you want Abacus Forms to save filled PDF documents in the PDF/A format.
-
Click OK to save your form setup changes.
To exit the Forms Filler
Select File > Exit from the Forms Filler menu bar.