Setting Up the Nameplate
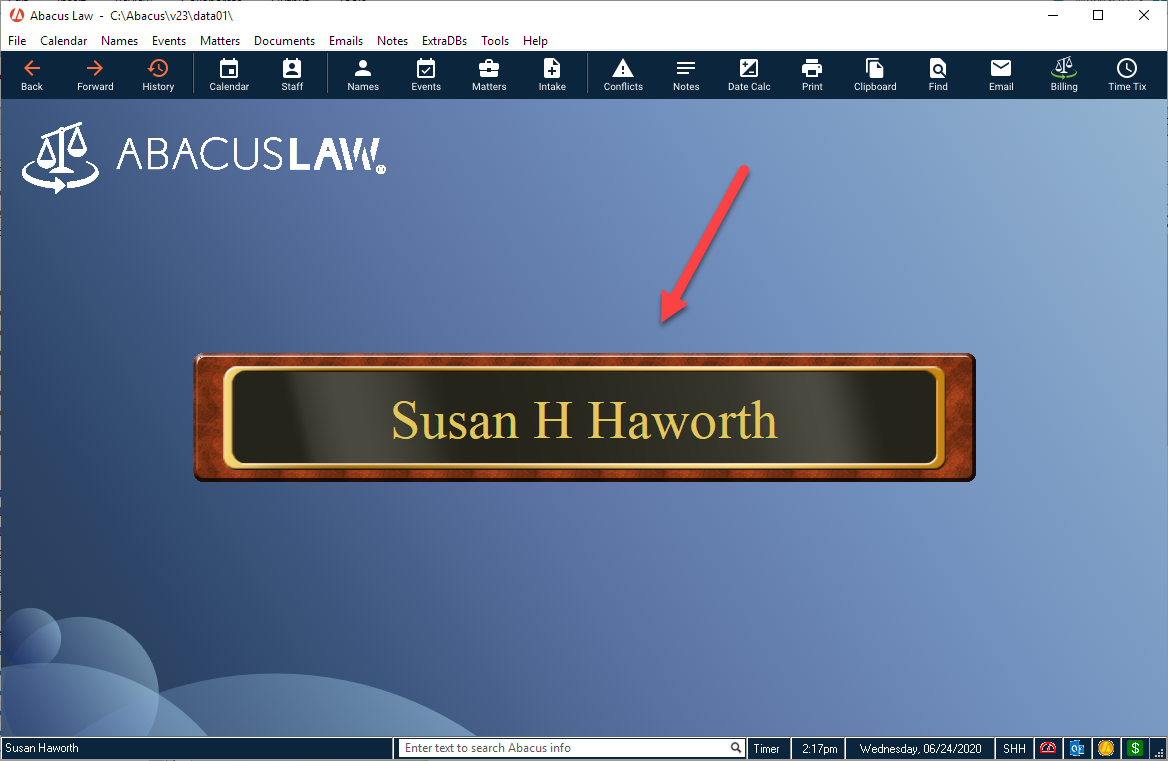
The nameplate appears on the main window, like this:

To show and label the nameplate
-
Select File > Setup > User Preferences. The User Preferences window appears with the User Info tab selected.
-
Under Settings, ensure that Show Nameplate on main window is checked. If this setting is not checked, the nameplate will not display.
-
You have two choices for labeling the nameplate:
-
Enter a name in the User Name box (located under Start Up on the User Info tab of the User Preferences window).
-
Leave the User Name box blank so that the nameplate label is your firm name as entered during registration.
-
-
Click Done to save your changes.
To select an image, font, or color for the nameplate
-
Select File > Setup > User Preferences. The User Preferences window appears. Select the Appearance tab.
-
Click Background profile.
-
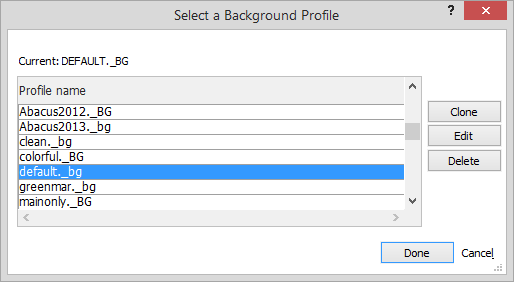
The Select a Background Profile window appears. Highlight the background profile you are using and click Edit.

-
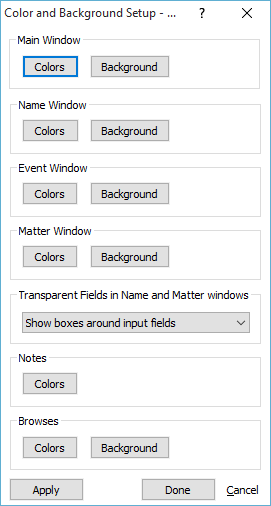
The Color and Background Setup window appears. Under Main Window, click Background.

-
A menu appears. Select:
-
Nameplate Image: To change the nameplate image. When you select this menu option, a window appears listing all image choices. Select the image and click Open.
-
Nameplate Font: To change the font for the nameplate label text. When you select this menu option, the Font window appears. Select the font type, style, and size and click OK.
-
Nameplate Color: To change the color of the nameplate label text. When you select this menu option, the Color window appears. Select a color and click OK.
-
-
Click Done to close all the open windows and save your changes.