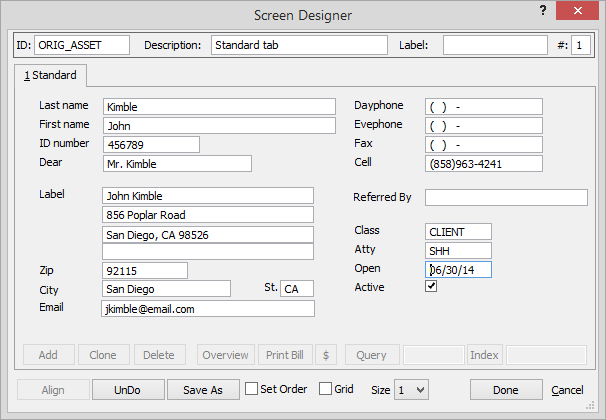
Screen Designer
This window lets you create screens that change the appearance of the Name window, Event window or Matter window.
To open the Screen Designer, from the Screens window, add, clone or edit a screen.
The following describes the settings on the window:
TIP: To undo any changes you make, click the UnDo button. The Saved Screen States window appears. Select the changed state you want to return to and click Done.
-
ID: The name of the screen (for system identification)
-
Description: A description of the screen.
-
Label: The name of the tab. You can leave it blank to have it numbered sequentially (like Page N). If you want an underlined "accelerator" key, put "&" in front of the number or letter to use. Since most letters are already used by the menus and buttons, use something like "&7 MyTab" so pressing ALT+7 will select this tab.
-
#: The number of the tab. If it is to replace the Standard tab of the window, enter 1; if it is to be added to the other tabs, enter 2, 3, 4, etc.
The following describes the tasks you can perform from this window to design a screen.
To add/edit fields
Click here for more information.
To clone fields
Click the field you want to clone to select it. Then, right-click the screen and click Clone selected. The cloned item appears on the screen.
To add/edit text and variable text
Click here for more information.
To add a group box
Right-click in the window and click Add Box. The Group Box Label window appears. Enter the name of the group box and click Done to save.
To add a notes listbox
Right-click in the window and click Add Notes ListBox.
To add/edit Hyperlinks
Click here for more information.
To set field box border options
Click here for more information.
To align or resize objects
Click here for more information.
To add a tab to the screen
Right-click in the screen and click Add Page.
To delete a tab from the screen
Select the tab. Then, right-click in the tab and click Delete Page.
To manage data tabs for the screen
Click here for more information.
To add extra databases to the screen
Click here for more information.
To size the screen
Right-click in the window, point to Size to screen mode, and click the resolution you want for the screen.
To add a line
Add a box with no height or width. You can stretch the bottom down a little to get a double-line effect.
To rearrange objects
Grab and drag objects to new positions.
To move or rearrange objects
Drag and drop objects to new positions.
To resize objects
Click to select the object. When selected, the object will be surrounded with handles (black squares). Click and drag a handle to resize.
To select multiple objects
Click on the first object, then press and hold the Ctrl key (the Shift key works too) while clicking all the additional objects you want to select. You can also click and drag a circle or "rubber band" around the objects you want to select. (To rubber band, you click in an open place on the screen and then drag a boundary around the items you want to select.) Several operations will affect the selected group, including moving, deleting and aligning.
To move several objects
Select multiple objects, then click any selected one and drag the group.
To delete objects
Select the object or objects and press the Delete key. A window appears asking you if you are sure you want to delete the objects. Click Yes.
To change the tab order
-
Check Set Order.
-
Right-click each field in the order in which they should be navigated. You must set ALL fields to change the tab order.
-
When you right-click the last field, Set Order is turned off and the screen is re-designed with the new order. To test, click the first field and press TAB to move to the next field.
To show a grid
Check Grid and set the Size to the preferred value. The grid is always active, causing objects to "snap to" the nearest grid position when moving. Showing the grid may help visually, but it can make processing sluggish since Windows wants to repaint the grid whenever something moves. We recommend keeping Grid turned off, and setting the Size to 2 when using it.