Adding HotDocs Templates
-
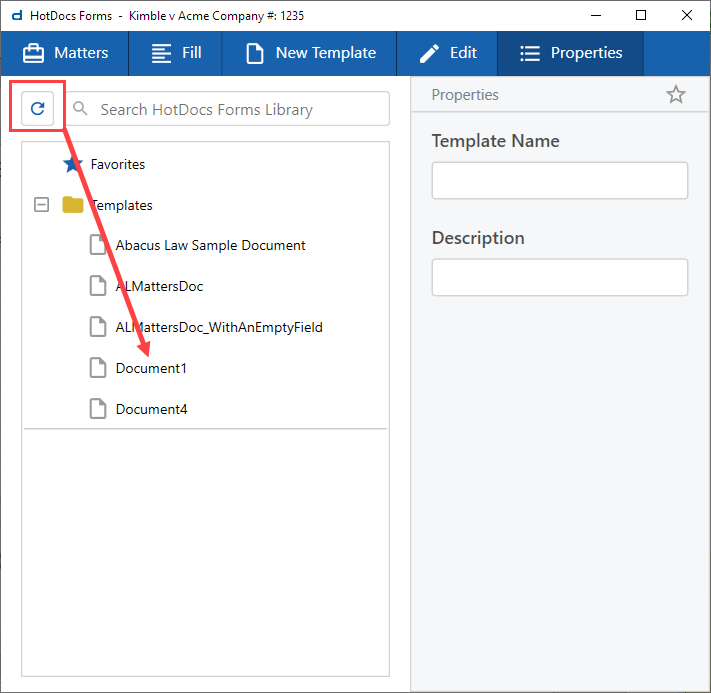
In the HotDocs Forms window, click New Template OR right-click a template and click Add New.
NOTE: If this is the first time adding or editing a template, HotDocs Author automatically installs. -
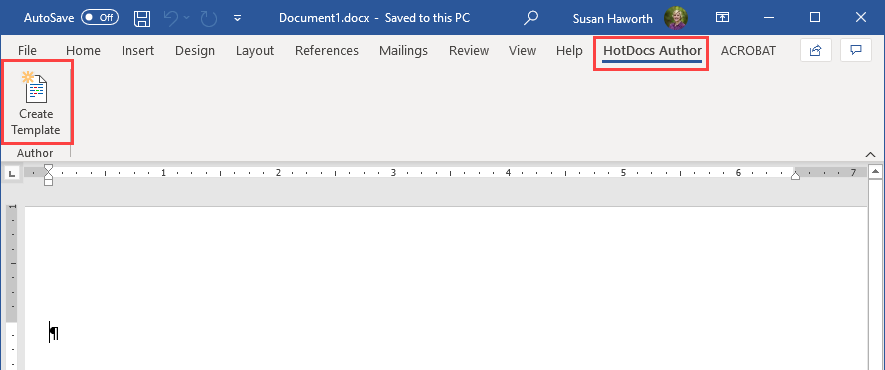
Microsoft Word opens. Click HotDocs Author in the main menu. Then, click Create Template in the ribbon.
-
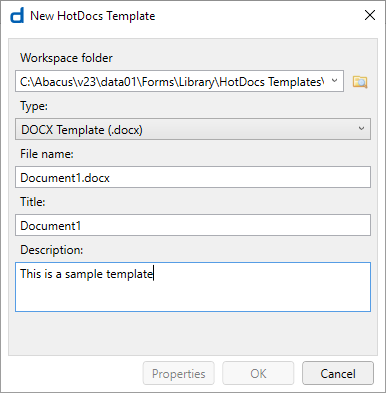
The New HotDocs Template window appears.
-
Leave Workspace folder and Type as is. Do not change.
-
For File name, enter the file name of the template.
-
For Title, enter the title of the template.
-
For Description, enter a brief description of the template.
-
(optional) If you want to change the template properties, click Properties, make your changes, and click OK to save.
-
Click OK to save the template.
-
-
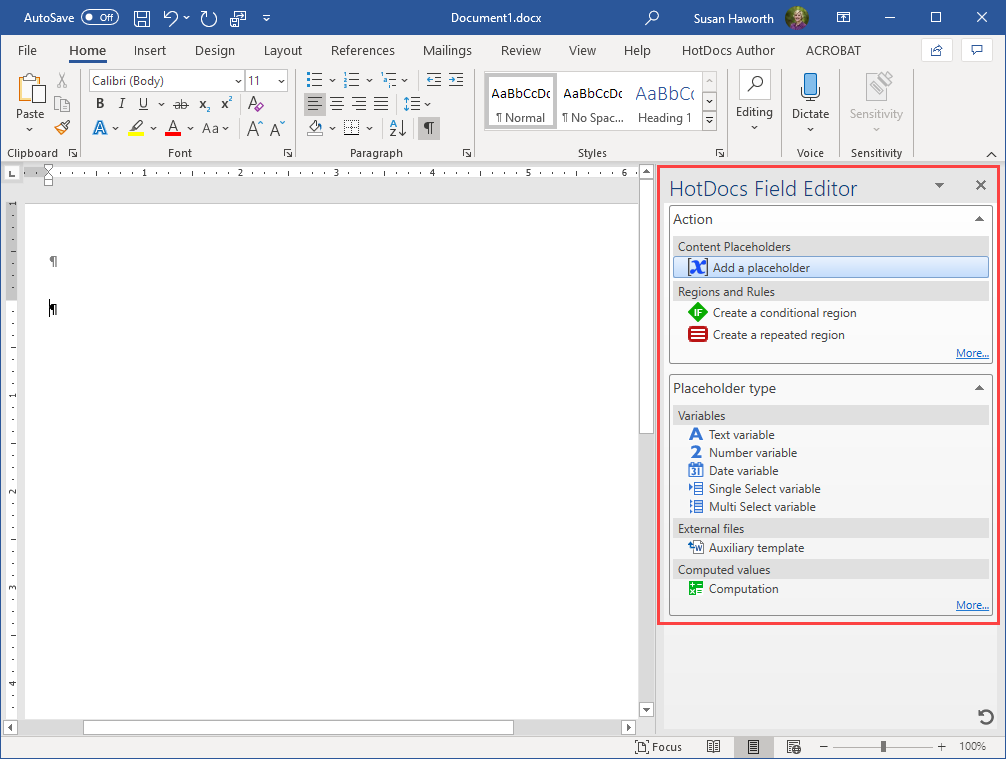
The template opens with the HotDocs Field Editor section displayed. Use the editor to add placeholders or repeat fields to the template.
-
Save the template.
-
After you have saved the template, you need to upload it so that it can be used for document creation. Click HotDocs Author to display the ribbon and click Go to Workspace.

-
IMPORTANT: Close the template. The upload will fail if the template is not closed.
-
The Workspace Explorer opens. Highlight the template and click the Upload button.

-
When prompted, enter your HotDocs initial setup email address and your initial setup password and click Log in.
-
When prompted, enter a comment for the template and click Continue.
-
When the upload is complete, click Continue again.
-
Back in the HotDocs Forms window, click the Refresh button and the uploaded template appears in the list, ready to be used to create a document.