Do
one of the following:
Select Billing
> Prebills or click the Prebills toolbar
button. The Prebill Selection window appears.
Select Billing > Print Bills
or click the
Actual
Bills toolbar
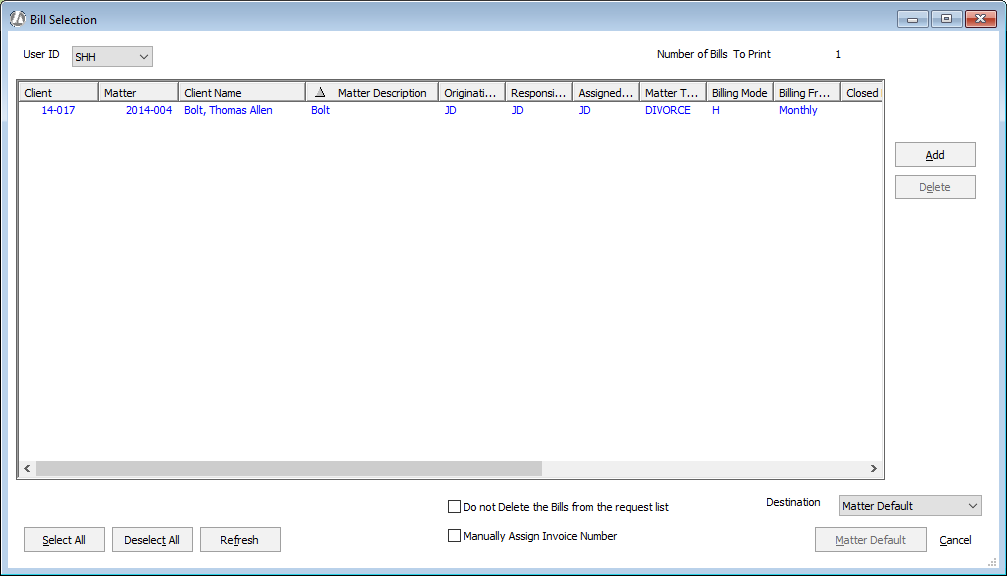
button. The Bill Selection window appears.
To set the billing criteria for the bill
(which determines the activity to be billed), click Add.
Three new tabs appear:
Select the Bill
By Group tab to select billing activity across clients
(for example, activity for a specific timekeeper).
Select the
Select Bills Individually tab
to select client-matters individually.
Select Speed
Billing to use the Speed Billing feature.
After you have made your billing criteria
selection, click Add to Billing Run.
The original Prebill/Bill Selection window reappears with client-matter
bills containing the selected billing activity listed.
NOTE: To improve performance the Total
Due column is not calculated if matters were added using Bill
by Group with no filter criteria set. In this case, it will always
show $0. Likewise, the Trust on Bill
column reflects the total trust funds the matter has and disregards
the trust funds being applied to the bill. To disable these performance
optimization measures, check Calculate
bill amount even when no selection criteria is there for bill request
on the Workstation Options window's Miscellaneous tab. When checked,
the Total Due and Trust
on Bill columns on the Prebill/Bill
Selection window are always calculated, regardless of whether
filter criteria are used when using Bill by Group or not.

Check Do not Delete the Bills from the request list if you want bills to remain listed in the PreBill/Bill Selection window even after they are printed.
Check Manually Assign Invoice Number if you want to insert a prior invoice number if it is not already in use. (Manually Assign Invoice Number is only available for bills – it is not available for prebills.)
With prebills or bills listed, you can do any of the following from this window:
Remove a prebill or bill from the list by highlighting it and clicking Delete.