Purchase and register the Canadian PALS.
Select File > Setup > Company Preferences.
The Company Preferences window appears. Under Rates, set Tax
Jurisdiction to your firm's province.
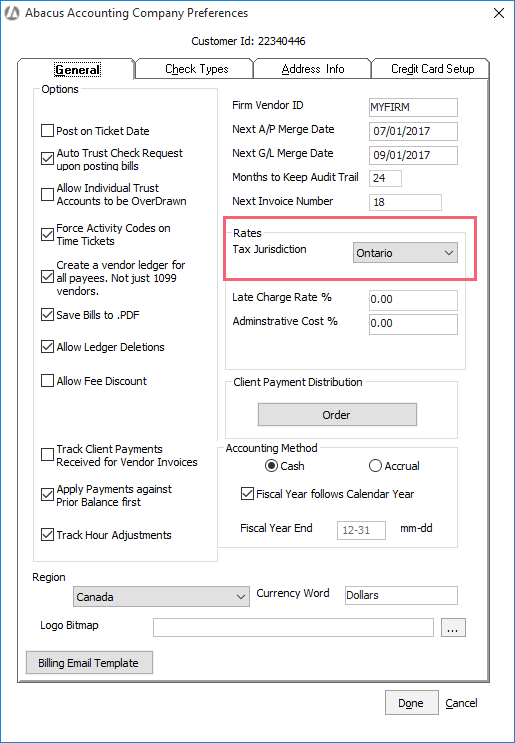
Click Done to save your changes.
The Canadian PALS was created to enable Canadian features for licensed Abacus Accounting users. The Canadian PALS adds the following features to Abacus Accounting for Canadian clients:
Follow these steps to set up the Canadian PALS.
Step 1: Select the Tax Jurisdiction for the Firm
Purchase and register the Canadian PALS.
Select File > Setup > Company Preferences.
The Company Preferences window appears. Under Rates, set Tax
Jurisdiction to your firm's province.
Click Done to save your changes.
Step 2: Select a Tax Jurisdiction for Matters
Repeat this step for all applicable matters.
Select Matters > Matters. The Matters Browse window appears.
Highlight the matter you want to edit and click Open.
The Matter Maintenance window appears. Select the Rates tab and then select the Tax, Int, Admin & Disc Rates tab.
Change Tax Jurisdiction
to the appropriate province for the matter.
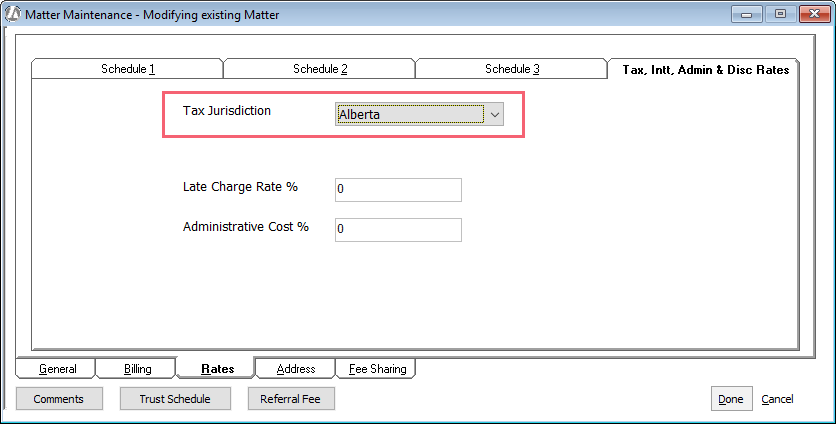
Click Done to save your changes.
Step 3: Select the Canadian Billing Format Code
Repeat this step for all applicable billing format codes.
Select File > Setup > Billing Format Codes.
The Billing Format Codes Browse window appears. Highlight the billing format code and click Edit.
The Billing Format Code Maintenance window appears.
Change Template for Bills
to ACTUAL-CANADA.rpt.
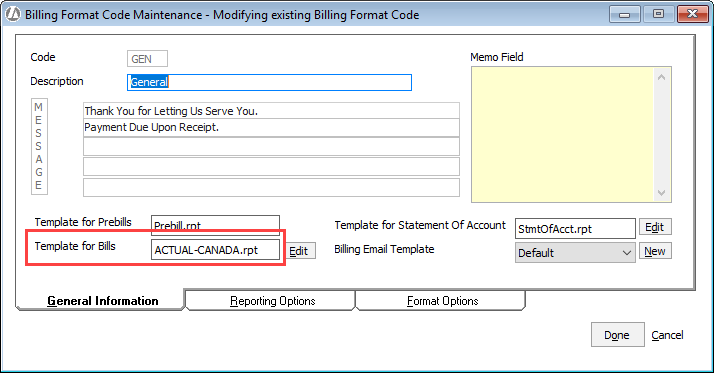
Click Done to save your changes.
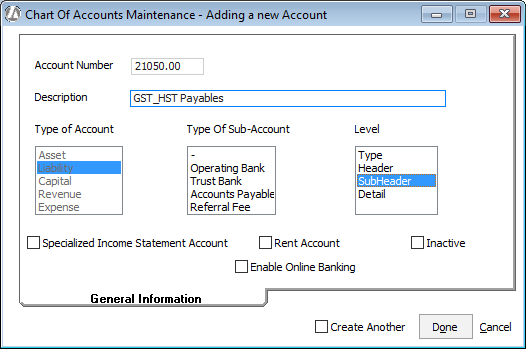
Step 4: Create Default GST/HST Receivable and Payable Accounts
NOTE: This step will be done by the system in a future release.
Select File > Setup > Chart of Accounts.
The Chart of Accounts Browse window appears. click Add.
Create the GST/HST Receivable account.
Enter an account number (must be unique and start with 13).
Enter a description.
Set Level to SubHeader.
Check Create Another.
Click
Done
to save the account.

Create the GST/HST Payable account.
Enter an account number (must be unique and start with 21).
Enter a description.
Select SubHeader.
Click Done
to save the account.
Step 5: Set the Default GST/HST Receivable and Payable Accounts
NOTE: This step will be done by the system in a future release.
Select File > Setup > Default G/L Accounts.
The Default Accounts window appears. Set GST/HST Receivable and GST/
HST Payable to the GST/HST Receivable and Payable accounts
you created in the previous step.
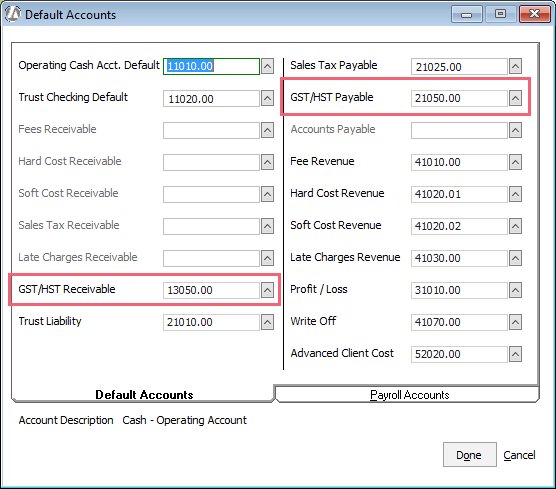
Click Done to save your changes.