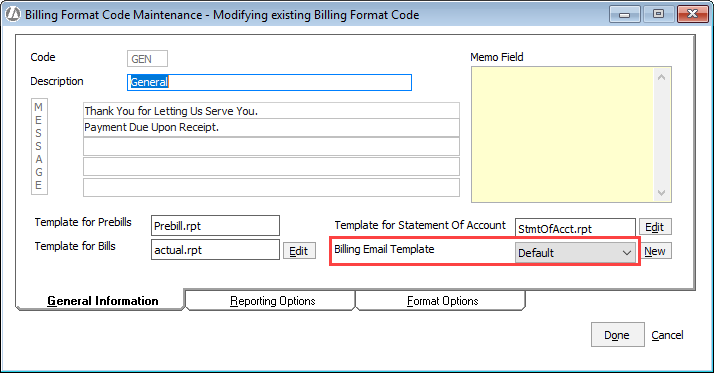
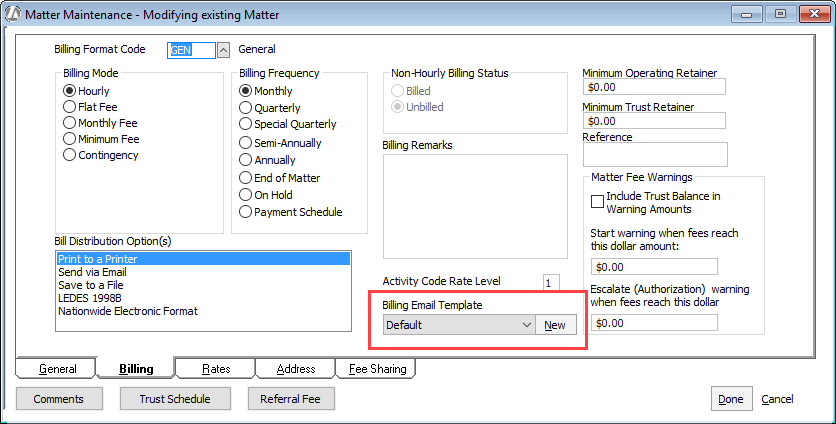
Select File > Setup > Billing Email Templates.
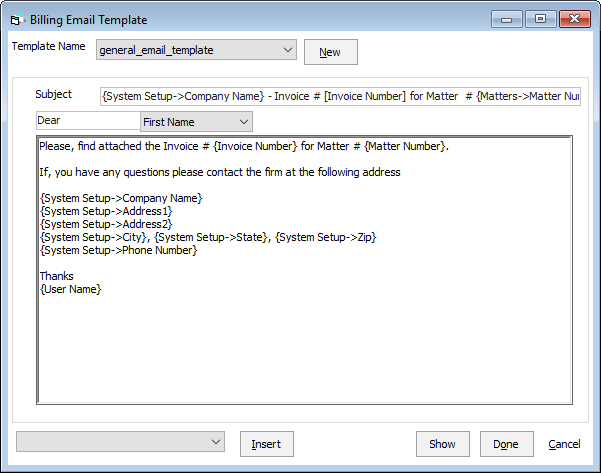
The Billing Email Template window appears. If you are adding a new billing email template, in the Template Name box, enter a name for the new billing email template. If you are editing a billing email template, set Template Name to the template you want to edit.

To change the salutation, edit the word "Dear" in the box and change the name you want to be after "Dear."
Change expressions in the subject line or email body as necessary by directly editing the content. To insert an expression, position the cursor where you want to insert an expression. Click the field to the left of the Insert field. A list of available expressions appears. Select an expression and click Insert.
Click Show when you are ready to save your changes. A preview of the billing email appears. This is what the billing email will look like to the client. If you still want to make changes, click Format to view the billing email template in format mode again and repeat the previous step.
When you are ready to save your changes, click Done on the billing email template or on the preview of the billing email.

