Select File > Setup > Workstation
Options. The Workstation Options window appears. Select the
Display/Printing tab.
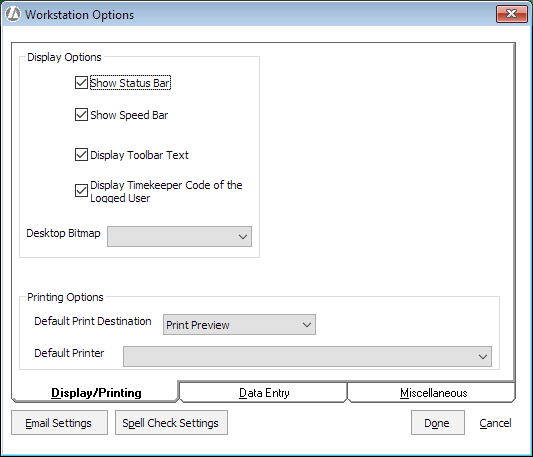
Complete or change the settings on the window as follows:
Show Status Bar: When checked, the status bar displays. The status bar is located at the bottom of the window and provides general information about Abacus Accounting.
Show SpeedBar: When checked, the speedbar displays.
Display Toolbar Text: When checked, text describing each toolbar button displays.
Display Timekeeper Code of the Logged User: When checked, the Timekeeper field on the Browse Time Tickets window auto-populates with the code of the logged in user. If the user is not associated to a timekeeper code, the field will not auto-populate.
Desktop Bitmap: Select the image you want to appear in the background for the Abacus Accounting desktop.
Default Print Destination: When you print something in Abacus Accounting (like bills or reports), you have the choice of sending output to the printer (Print) or seeing the output on the screen (Preview). This setting indicates whether you want the default print destination to be Print or Preview.
Default Printer: The default printer to use.
Click Done to save your changes.